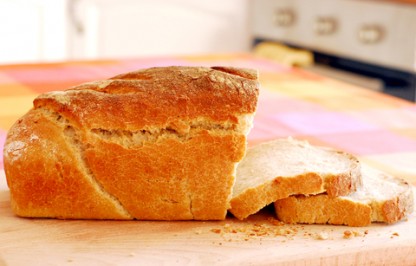
Making a Sourdough Starter From Scratch Is Easy and Can Even be Done Gluten-free
 Sourdough allows for a wonderful, light texture due to its leavening qualities, and it creates a uniquely pleasing taste. In gluten-free baking, especially, this enhanced texture and taste can greatly improve the outcome of breads. Because sourdough breaks down gluten, it is also being investigated as a way to degrade contaminants in gluten-free products. Sourdough also increases shelf life by preventing growth of fungi and mold, acting as a natural preservative.[1]
Sourdough has many benefits for your health, too. The lactic acid bacteria that help the fermentation of sourdough products can act as probiotics and benefit the bacterial composition of the gut. Sourdough also slows starch digestion, so blood glucose levels do not spike as quickly, lowering the glycemic response. The fermentation step also helps retain vitamins in the baking process, allowing for higher levels of vitamins important to our health, such as B vitamins.[2]
One of the important qualities of sourdough for your health is the presence of phytase in the yeasts and lactic acid bacteria. Phytic acid is a storage form of phosphorous in grains and it forms complexes with minerals like calcium, magnesium, potassium, and iron. Phytase acts on phytic acid, inhibiting its ability to bind to these minerals. In this way, the phytase in sourdough leads to increased availability and absorption of these minerals, which are vital to optimum health.[1,2]
Instructions for making a sourdough starter from scratch
You will need:
- One quart-sized mason jar or a medium-sized glass bowl
- One thin dish towel
- Purified water
- Whole-grain flour of choice (brown rice flour works well for gluten-free sourdough, or try experimenting with different types or a mixture of flours)
- 2 T apple juice (optional)
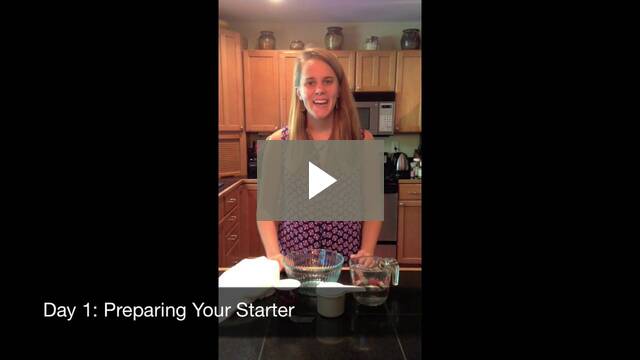
Day 1: Prepare your starter
Combine 1 C of your flour with 1 C water and 2 T apple juice in your jar or small bowl. Stir thoroughly to work out any lumps. Cover with a thin dish towel (the looser the weave of the fabric, the better, as this will allow more wild bacteria and yeast from the air to reach your starter). Store in a warm, undisturbed spot.
Day 2: Feed your starter
In 24 hours, add ½ C flour and ½ C water to your starter and stir to combine. Cover with the towel and let it sit out overnight.
Day3: Feed your starter
Repeat the feeding process. Add ½ C flour and ½ C water and combine. If your starter begins to fill your container, move it to a larger glass container. The starter will begin to smell sour and pungent at this stage.
Day 4: Feed your starter
Add ½ C flour and ½ C water and combine. By now you should be seeing bubbles in the starter and the smell should be very strong.
Day 5: Starter may be ready to use
At this stage, your starter should be full of bubbles and should be dramatically increasing in size between feedings. However, the rate at which your starter will become active varies, depending on the environment and the temperature of your home. If you do not see lots of bubbles and feel that your starter is not quite ready, keep feeding it daily until it is.
Day 5 and beyond: Maintenance
If you will be using your starter often, you can keep your starter out and feed it daily. Each time you feed, you will need to discard (or use!) much of your starter before adding new flour and water. Once your starter has become active, keeping it at around one to two cups of bulk is a good rule of thumb. If it gets too big, it will not stay healthy.
If you want to feed it less often, you can put your starter in the fridge. Your starter will only need to be fed every four to seven days. Allow it to sit out overnight after feeding before putting it back in the fridge so it has time to recover. It is also possible to freeze small amounts of starter. When ready to use again, remove the starter from the freezer, let it thaw, and then feed to get it active again.
Using your starter
Sourdough starters can be used in a variety of delicious recipes. I especially like this recipe for a gluten-free sourdough boule from the Art of Gluten Free Baking. Experiment with different recipes for sourdough bread to find your favorite. Or try out my sourdough pancake recipe, which is a great way to use excess sourdough starter:
Sourdough Pancakes
- 2 C sourdough starter
- ¼ C water
- ½ C brown rice flour
- 2 T oil
- ½ t baking powder
- ½ t baking soda
- 1 T sugar
Combine all ingredients in a medium-sized bowl. Cook pancakes in a pan over medium heat. Serve with syrup, jam, fresh fruit, or honey.
Share your experience
Have you ever made your own sourdough starter? Please share your tips and favorite sourdough recipes in the comments section below.
 Ask the EN Experts March 2025